


Step 1
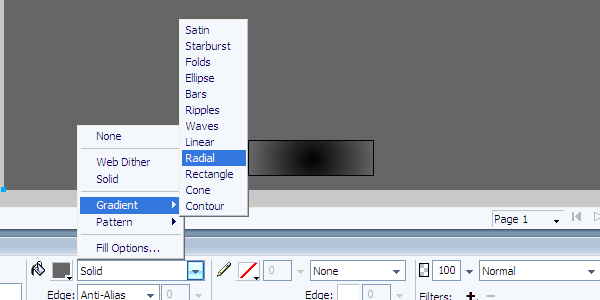
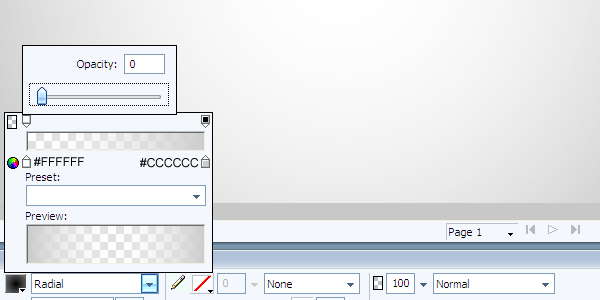
Open Fireworks and create a new file 1400px by 1000px, or use the dimensions you prefer. Make a square the size of the file. Then select it, and change the color mode to Radial. Modify the color scheme, as shown in the image below. Make the center of the square white. Then set Overlay to 50%.

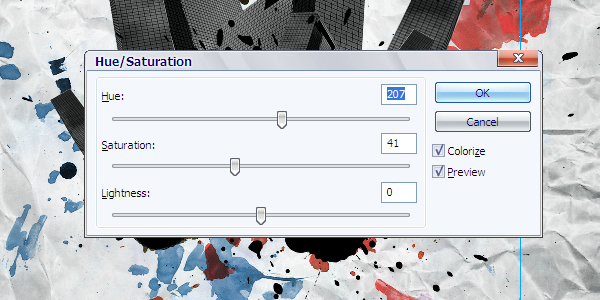
Step 2
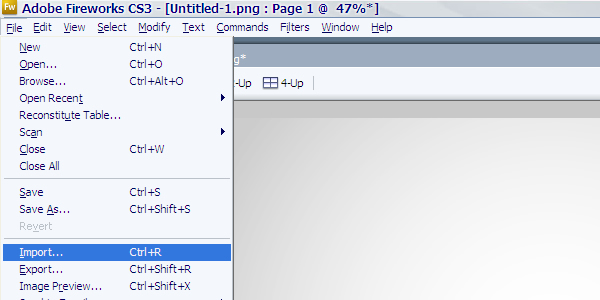
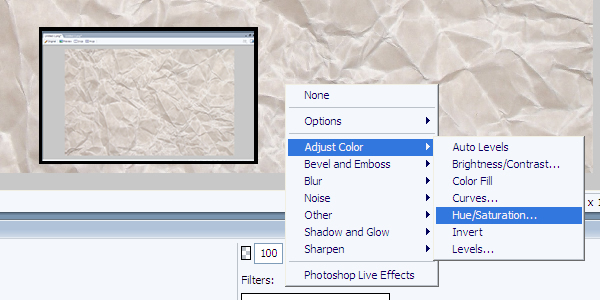
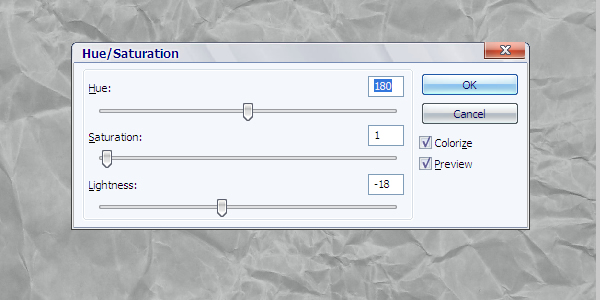
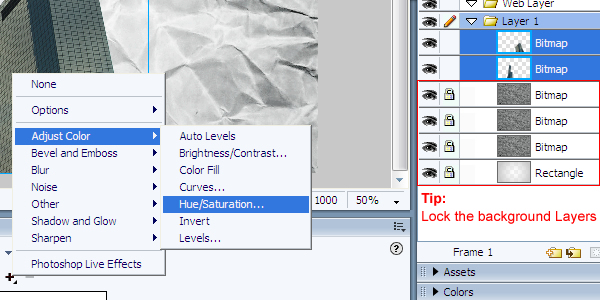
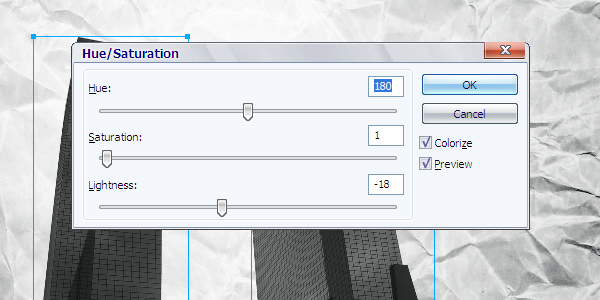
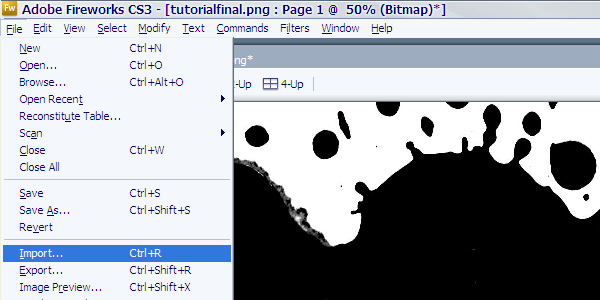
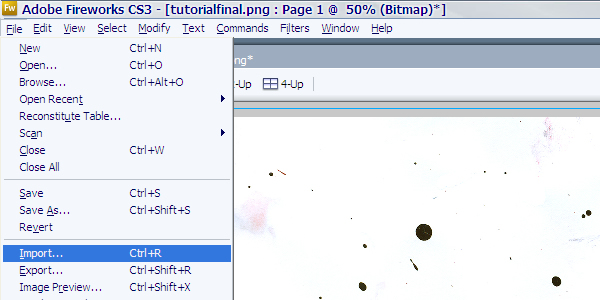
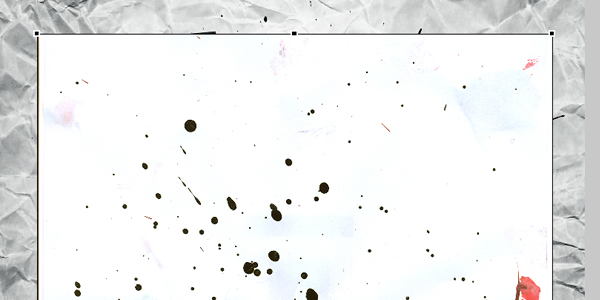
OK, now we'll use one paper texture image from sxc.hu. Get the image here. Import the image into Fireworks by going to File > Import. Then resize the image with the Scale Tool (Q). Then select it and go to Filters > Adjust Color > Hue/Saturation. Then modify the values, as shown in the image below.
Step 3
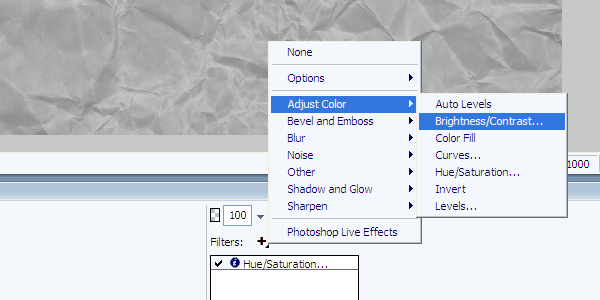
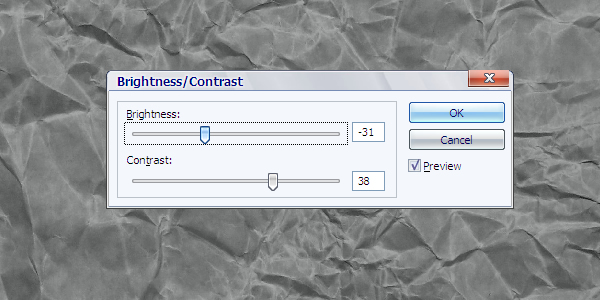
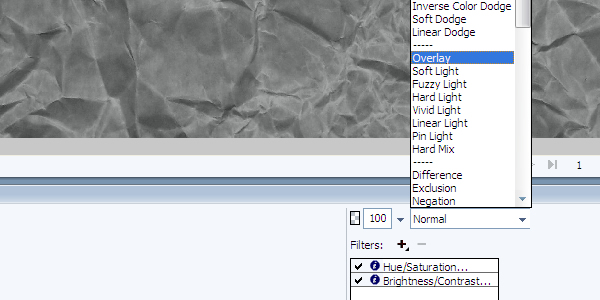
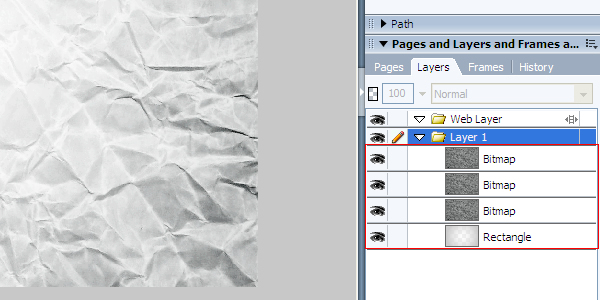
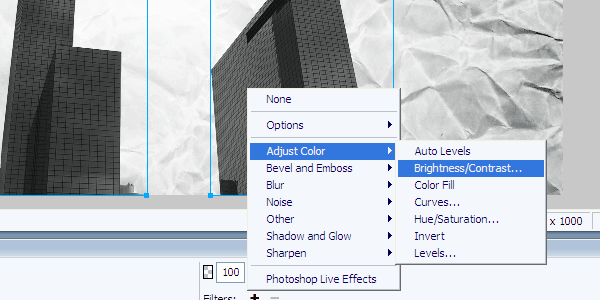
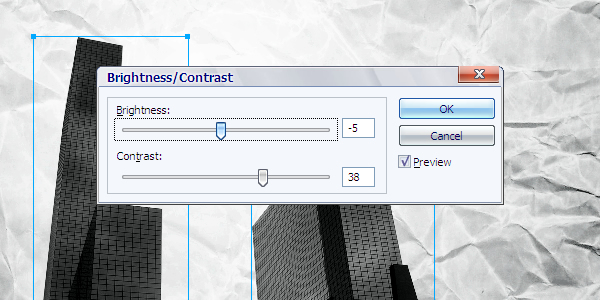
Next go to Filters > Adjust Color > Brightness/Contrast. Modify the values, as shown in the image below. Then select the image, and set it to Overlay. Copy and Place tree times to build up the texture. All right, background done!
Step 4
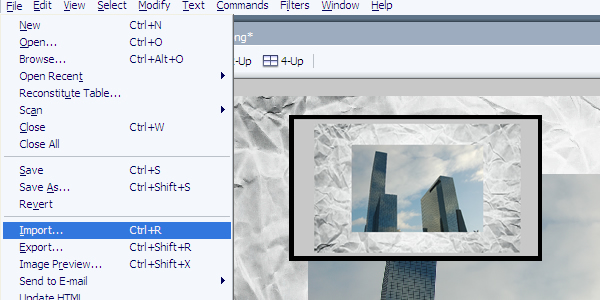
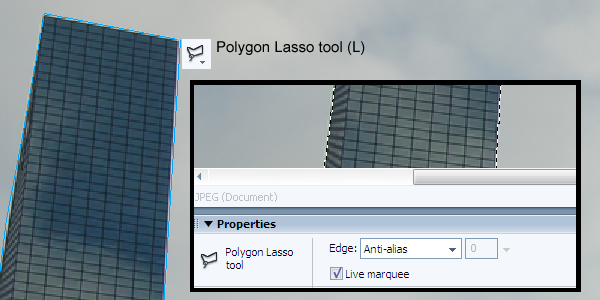
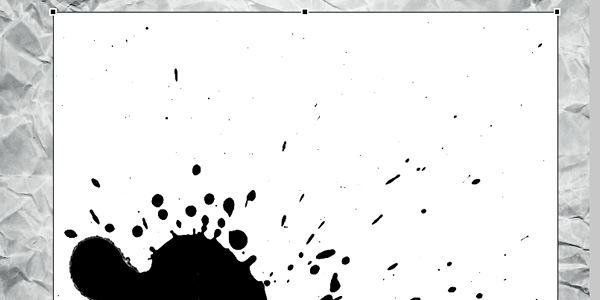
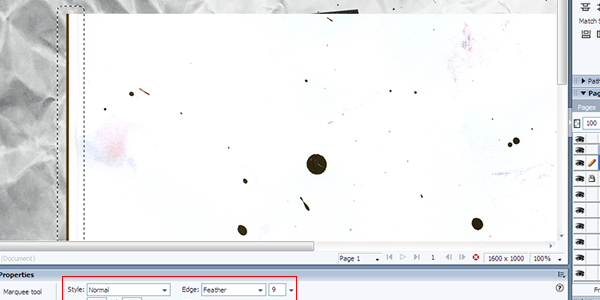
Next we'll use another image from sxc.hu. Get the image here. Now go to File > Import. Select the image you've imported and resize it with the Scale Tool (Q). Now crop the image using the Polygon Lasso Tool (L). Make the marquee selection all over the parts you want to use, and delete the rest using Anti-Alias edge mode.
Step 5
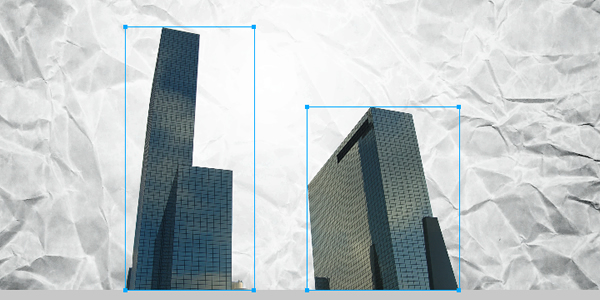
OK, now you have the images without backgrounds. Select them and go to Filters > Adjust Color > Hue/Saturation, and input the settings below. Then go to Filters > Adjust Color > Brightness/Contrast, and again input the values as shown in the image below.
Step 6
Let's use another image from sxc.hu. Get the image here. Now go to File > Import. Resize the image as you prefer using the Scale Tool (Q). Tip: Be open to using different images. In this tutorial, the most important thing is to learn how to use layer effects to make awesome creations.
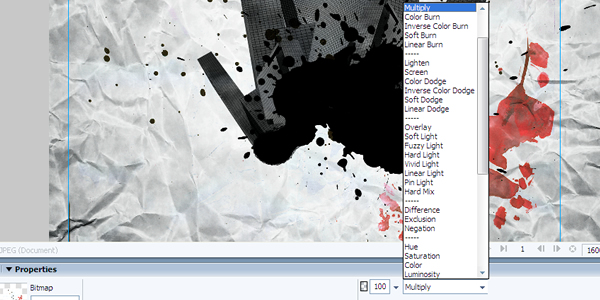
Step 7
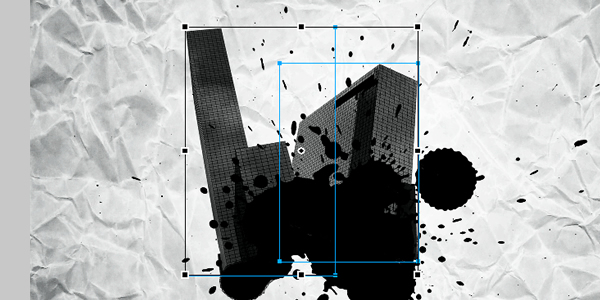
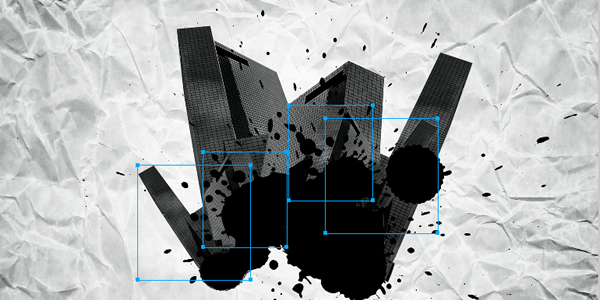
This tip will be very useful in your next creations. Select the image you've imported. Then change the Layer Mode to Multiply. The Multiply Layer Mode hides all the white color areas making the white color transparent. Very useful! Now it's best to resize the images you've made using the Scale Tool (Q). Also, compose the images, as shown below.

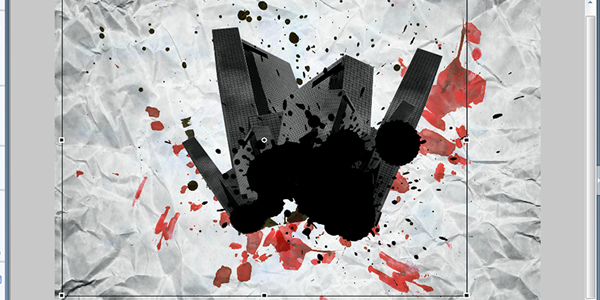
Step 8
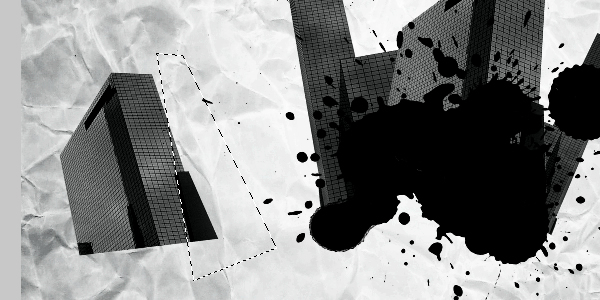
Duplicate and resize the images you have. Be open to create new things and combinations. One tip is to use the Polygon Lasso Tool (L) to cut out some areas, as shown below.
Step 9
Get another image from sxc.hu. The image is located here. Then go to File > Import. Resize the image as you prefer using the Scale Tool (Q). Then apply the image to this composition. Be careful, as this image does have one unnecessary line. So, use the Polygon Lasso Tool (L) to remove this part.
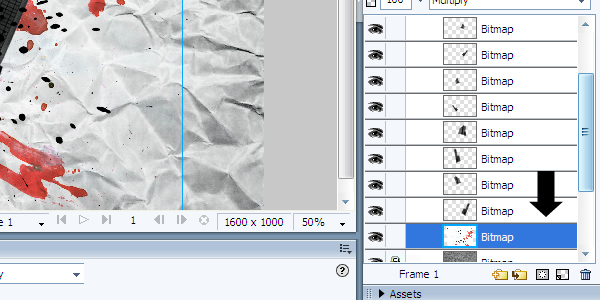
Step 10
Select the image you've imported, and change its Layer Mode to Multiply. Then place the image layers, as shown in the image below.
Step 11
Copy and resize this image to make another combination. Then change the color using the effect shown in the image below. Do this by going to Filters > Adjust Color > Hue/Saturation.
Step 12
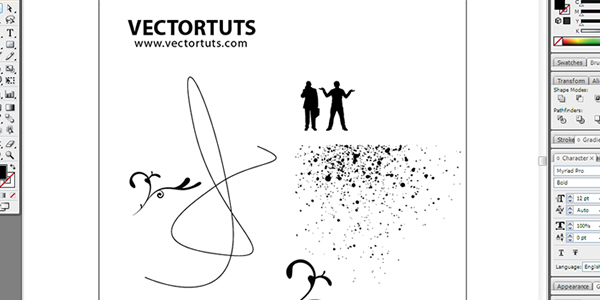
Now open Illustrator CS3. I've created a pack of vectors for this tutorial. Get this pack here. Now select the vector you'll import to Fireworks.
Tip: In Fireworks some vectors are big when you import from Illustrator, so shrink the size before you import.
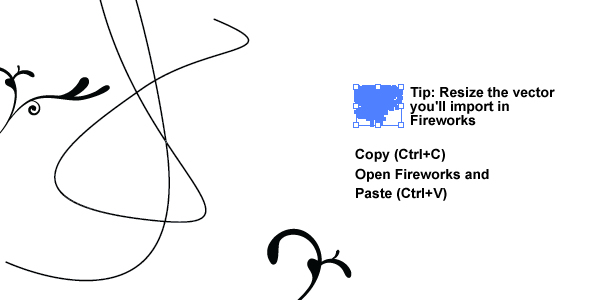
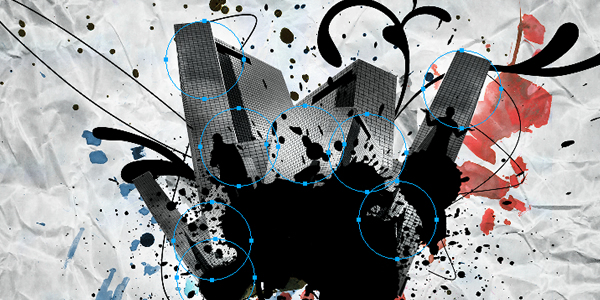
Step 13
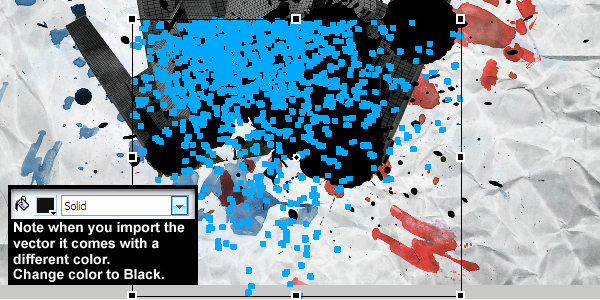
Importing is simple. First, Copy (Ctrl+C) the vector you want in Illustrator. Then open the Fireworks file again, and then Paste (Ctrl+V) the artwork. Select the vector and resize to your preference using the Scale Tool (Q). Now repeat this steps with all the vector artwork you want to use from Illustrator. Resize and combine based on your creativity. Take a look at the image below to see where I've placed the vectors.
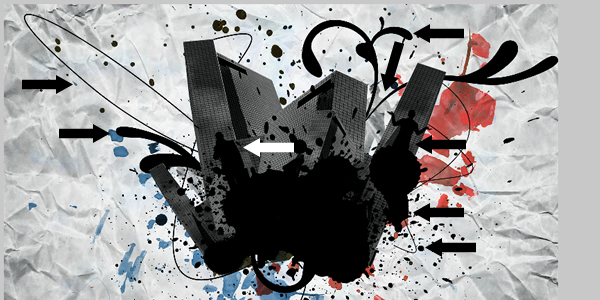
Step 13
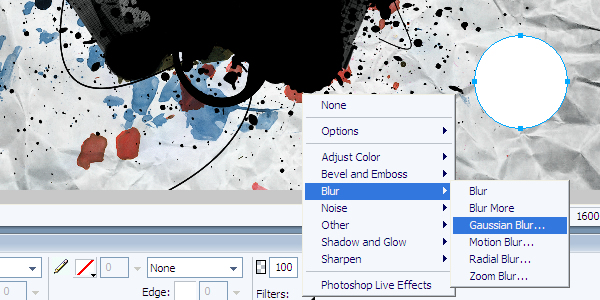
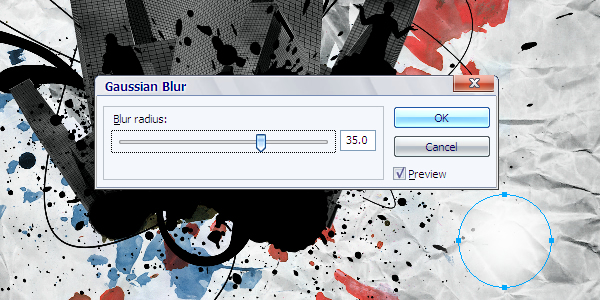
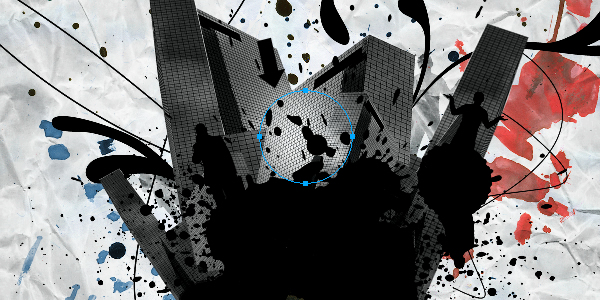
Now for the final touch! It's a simple effect. I like to use it to add some light effects. Create a new white circle. Then go to Filters > Blur > Gaussian Blur. Input the settings, as shown below.
Step 14
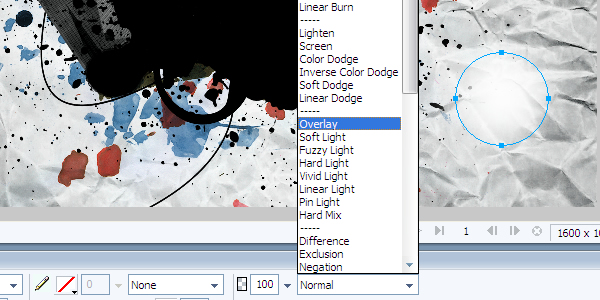
Now for the big secret! Following is how the magic happens. Select the circle, and put it in Overlay Layer Mode. Then put the circle inside the area you want to clear and make a light effect.
Tip: Use opacity and different levels of blur effects. For the areas you want lighter, copy and paste multiple times in the same place.
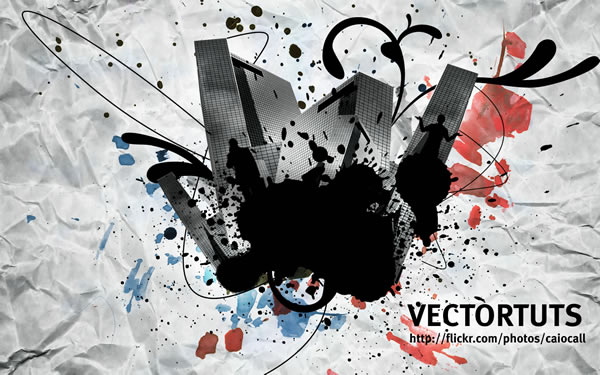
Conclusion
Always use your imagination, and use effects carefully to bring your ideas to life. When you know more about the program you are using your limitations open up! Hope you like it! More tutorials coming soon, so stay tuned!
Source:vector.tutsplus.com

