It’s been a while since I made a tutorial here in Naldz Graphics. For this month Im gonna focus more on creating tutorials for everyone. Today you will learn how to create a Glowing Effect Scene in Photoshop.
This tutorial will teach you how to come up a cool glowing effects on your artworks. Lets take a quick preview first on the final result.

If you’re ready then lets start.
Step 1
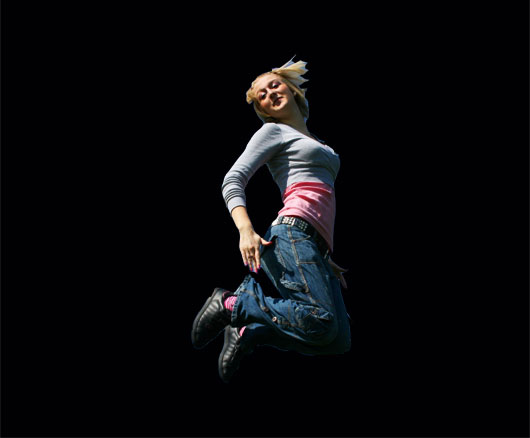
Download this Free Stock Image first. Remove the background of the image using Magnetic Lasso Tool (L). Open New Document. I use 530 x 438 pixels on this tutorial. Use color #000000 for the background. Move the Image to the Working document using Move Tool (V). Name the image to “Stock Image”.
Step 2
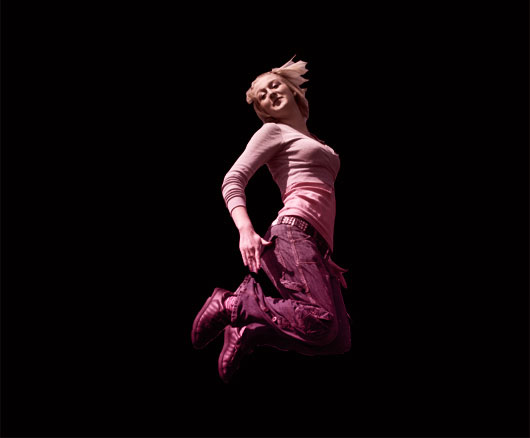
Create a New Layer above the Stock Image Layer. Choose Gradient Tool (G). Set the color to #9d5c5b and #b53564. Apply gradient to the new layer then set the layer to “Color” and 75% Opacity.
Step 3
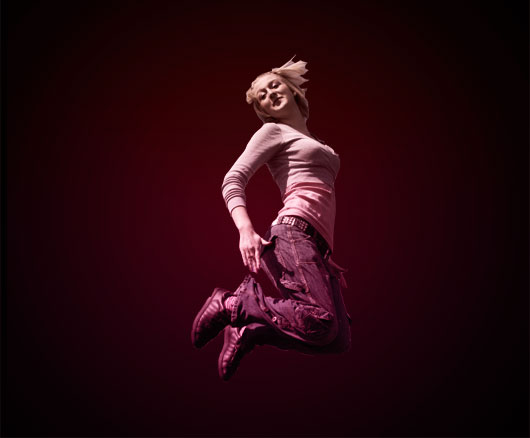
Create new layer between the background and the image. Set the color to #470310. Now choose Gradient Tool again and use “Foreground to Transparent” in Radial Gradient mode. Now apply it to our working document. Name the layer to “Highlight1″
Step 4
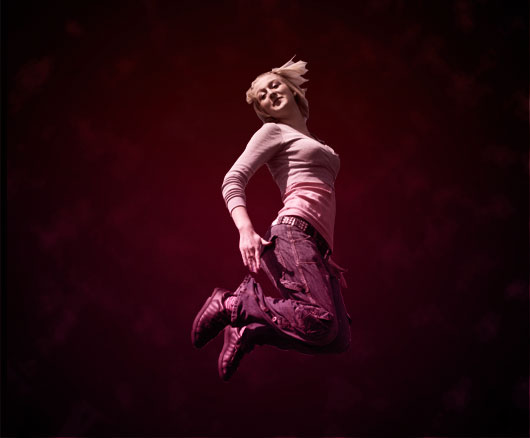
Create a new layer above the Highlight1 Layer then go to Filter>Render>Clouds. Set the layer to “Soft Light”. Name the layer to “Cloud”. Duplicate the “Cloud” layer by pressing CTRL+J.
Step 5
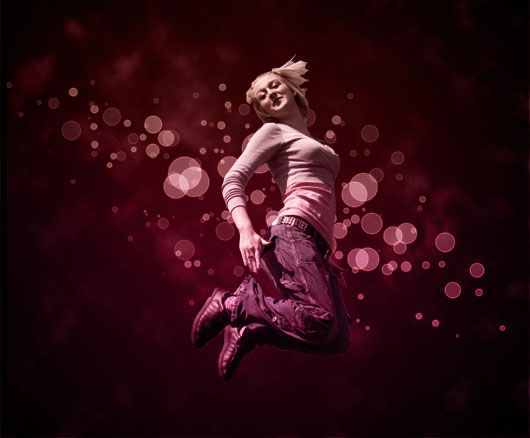
Create new layer behind the Stock Image layer. Name the layer to “Circles”. Set the color to #ffffff. Choose Ellipse Tool (U) and create some circles. Make sure to hold Shift while creating the circles (check the image below). Now adjust the Fill to 30%. Go to blending mode. On the blending mode, select Outer Glow then use color #e1851a. Opacity to 100% . Spread to 6% and Size to 2 pixels.

Step 6
Duplicate the circle layer. What we’re gonna do here is to scale the duplicate layer and move it around the area so it will create more circles. Create a 6 duplicates. ( See the image below). You can also adjust the opacity to 50% of other circle layers specially for the small circles.
Step 7
Create new layer behind Stock Image layer. Choose Custom Shape Tool (U) then select “Tile 2″. Adjust the Opacity to 35%. Go to blending mode. On the blending mode, select Outer Glow then use color #e1851a. Opacity to 100% . Spread to 6% and Size to 2 pixels. Go to Edit>Transform>Warp and warp the Tile.(see image below)

After warping, Go to Edit>Transform>Rotate and adjust the warped tile to a good position. Name the layer to Tile. Duplicate tile layer then set the duplicate layer to 100% Opacity and 30% Fill.

Step 8
Duplicate the Stock Image layer then select duplicate Stock Image. Go to Image>Adjustments>Hue/Saturation. On Hue/Saturation, adjust the Lightness to +100. Right Click the duplicate Stock Image layer then select Outer Glow. On Outer Glow, Set the color to #ffffbe. Opacity to 75%. Spread to 0% and Size to 18%. Now we have a highlight on the Stock Image.

Step 9
Create a new layer between Stock Image and Duplicate Stock Image. Set the color to #ffffff. Choose Brush Tool (B) and Set the brush to “Splatter 59 Pixels”. Now apply the brush on the right side of the Stock Image. (see image below)

Step 10
Lets add some little sparkles. Create a new later above Stock Image layer. Choose Brush Tool (B) then adjust the brush to Soft Round 5 Pixels.

Step 11
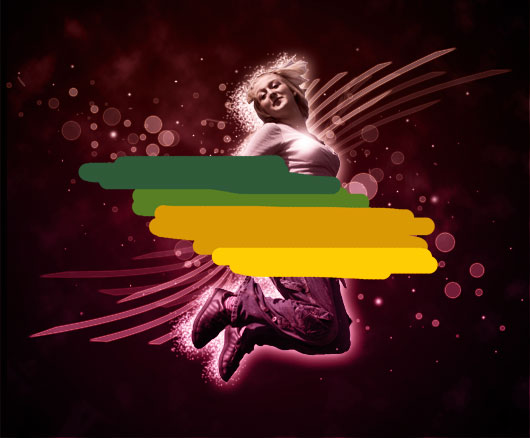
Create a new layer. For this part we will gonna use 4 kinds of colors. First use #ffffbe then apply it to the layer using brush tool. 2nd color is #587f23. 3rd is #d99905 and last color is #ffcd03. (see image below)
Step 12
Go to Filter>Blur>Gaussian Blur. In the Gaussian Blur, set the radius to 25 pixels.

Step 13
Almost done. Now Set the layer to “Color Dodge” and Opacity to 45%. Go to Edit>Transform>Rotate to adjust the position of the highlight.


