


Introduction
Since the release of the Content-Aware-Scaling feature, I’ve always wondered where and how I could use this feature in my projects. After experimenting with it, I realized how useful it is. As mentioned above, Content-Aware-Scaling automatically recognizes important areas of an image, protects them from being squeezed, and does the opposite to unimportant areas by cropping and retouching these. Of course there are limitations, but overall it's a great new feature added to Photoshop. Let's take a look at the details!
Preparation
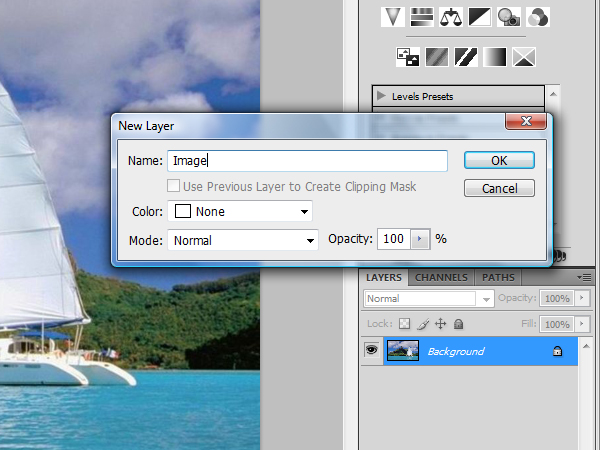
First, you need to import an image. In order to use the Content-Aware-Scaling, we need to convert this Background layer to an independent layer. Double-click on the layer, give it a name, and hit OK.
How you can find it?
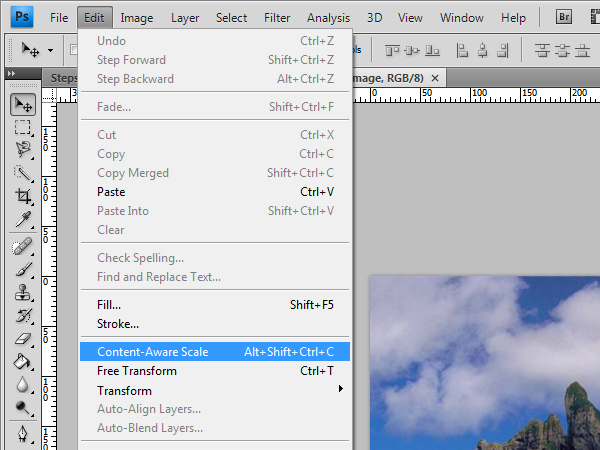
Make sure your layer is selected. Go to Edit > Content-Aware-Scaling or use the shortcut Command + Shift + Alt + C. The image should now be framed, providing transform handles for adjustments.
Scaling
As soon as you move the handles, Photoshop will recognize important areas automatically and transform the image properly without distorting the image. There is a limit to this ability though and you'll have to use your eye with this feature. You can protect specific areas better by just using the Marquee-Tools before selecting Content-Aware-Scaling, and we'll review this shortly.

Let's Review the Difference this Makes
Using the Free Transform Tool
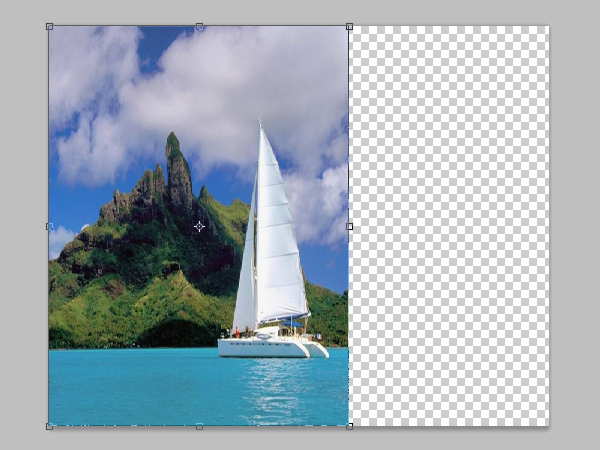
This is how an image looks after resizing it to 60% using the Free-Transform-Tool.
Content-Aware-Scaling & Difficulties
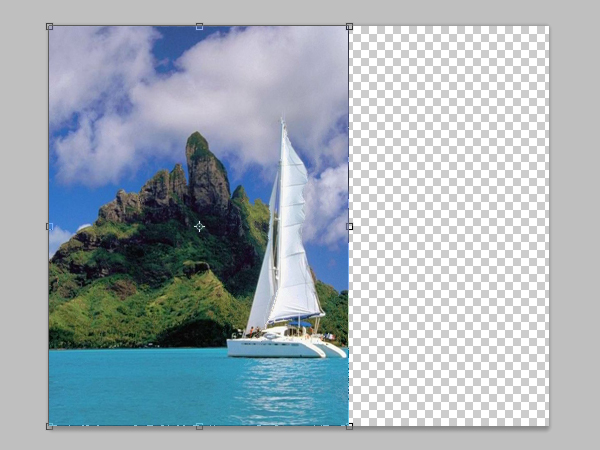
As you can see, the mountain and some other areas look good, but there's a problem starting to happen with the boat - it's looking distorted. To a certain point, Photoshop does a great job, but you have to be careful, because sometimes you’ll see distortion in your images. If you want to secure specific areas in your images, you can use an alpha channel to help protect content during resizing. In the next steps, we'll take a look at masking.
Masking
As mentioned above, there’s a simple solution to protect important areas in the image, and that's using Masks. There are several ways to create masks or selections and save them as an Alpha Channel. We'll take a look at two of them and we'll tell Photoshop to use these selections to protect image areas from distortion.
Quick Masking
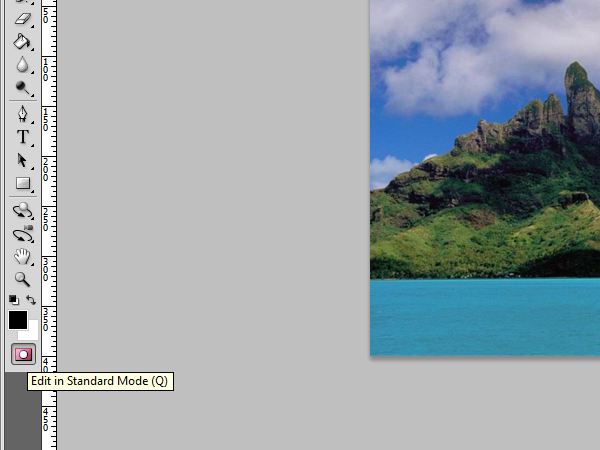
Click on the Edit In Standard Mode button or use the Shortcut (Q) to enter the Modus.
Selecting the Sail Boat Using the Brush
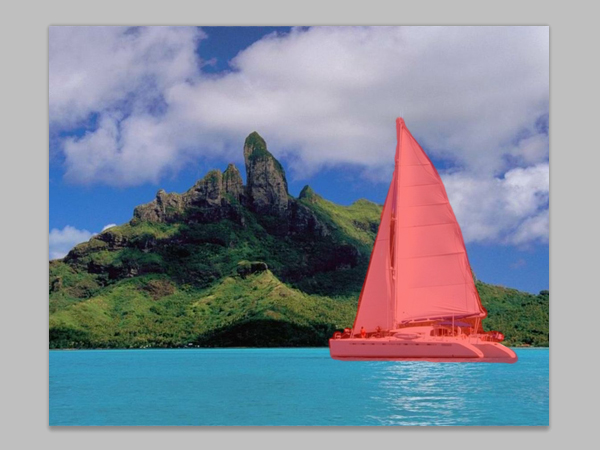
I chose a simple brush, used different sizes and painted out the Boat. You can switch between black, gray and white colors to paint or erase your selections. The masking doesn't have to be perfect, but you should make sure the object is selected.
Close the Standard Mode
Photoshop creates a selection using the information from above. We need to invert the selection since we want to keep the boat area. Go to Select > Inverse (Command + Shift + I).

Inverted Selection
This is how the selection should look now. It's ready to be saved to use it later as an alpha channel. The Content-Aware-Scaling feature uses Channels to protect specific areas in your images.

Polygonal Lasso Tool
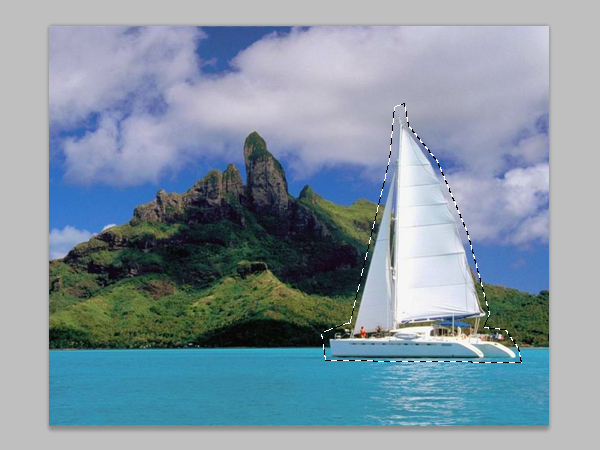
Here's another selection I created using the Polygonal Lasso Tool. It's not as accurate as the selection above, but that's OK. There are several ways to create Masks for protecting specific areas in your images. Just experiment with it, until you have a good selection.
New Channel
Save New Channel
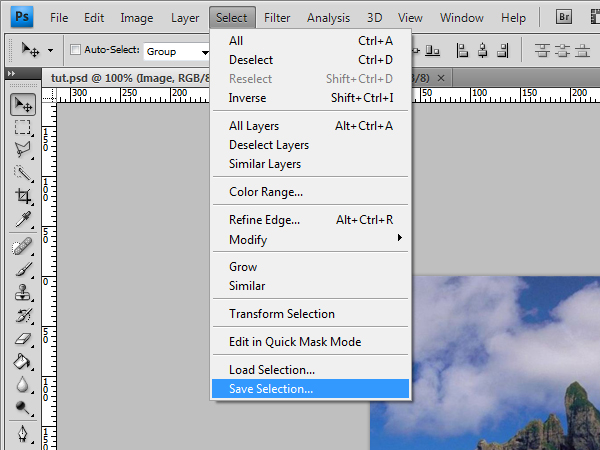
After creating and optimizing our selection, it's time to save the selection as a new channel to later use it for protection. Go to Select > Save Selection.
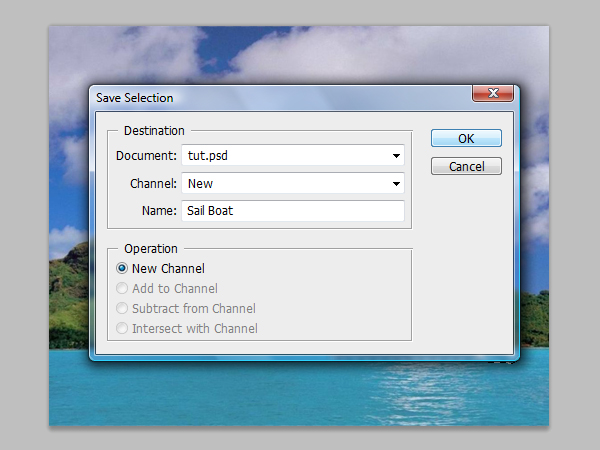
Save Selection Window
The Save Selection window should pop up. Make sure the Document is set to the current document and the Channel is set to New. Give it a name and hit OK.
Channel Panel
New Alpha Channel
As you can see in the image below, Photoshop added a new Channel to the Channels Panel. We can now tell Photoshop to use this Channel as a mask to protect the important area. Make sure you deselect the image area by going to Select > Deselect (Command + D).

Protect Option
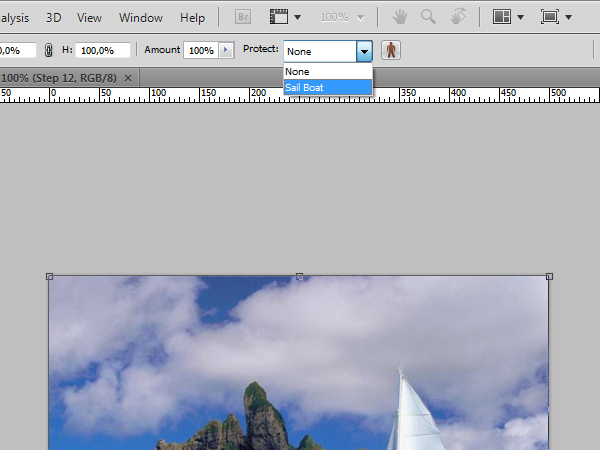
Select Channel
Photoshop identified our new Channel and lists it in the Protect drop-down menu. It's set to None but since we want to keep the information of the Sail Boat, choose the Sail Boat Channel. Additionally, you can save multiple selections, which will be later listed in this drop-down menu.
Mask Result
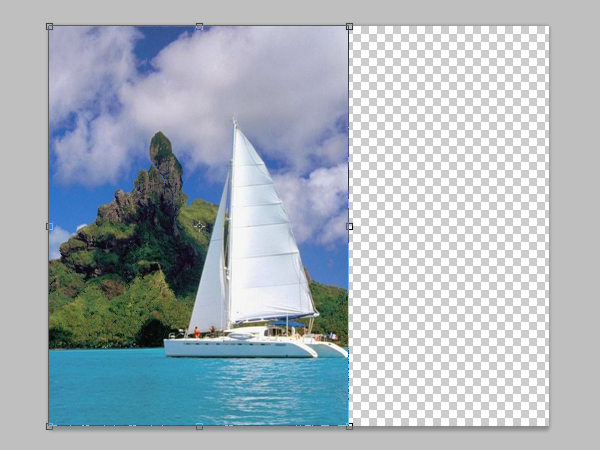
Protected Content-Aware-Scaling
The boat looks fantastic. We resized our image to 60% and preserved the information, but now there's another problem. As you can see in the image below, the island looks distorted. At this point, you should be able to solve this problem yourself. Create and combine multiple Masks to solve this problem. In most cases, you don't even have to create Masks. Let's take a look at other options of the Content-Aware-Scaling.
Content-Aware-Scaling – Option Bar
The option bar provides some additional features like positioning, skin-tone-protecting and more. We'll use some of these options to make sure we keep important objects untouched. Here are a few details on these options:
- Reference Point Location
By choosing one of the squares on the reference point locator, you can set the fixed point, which the image will be scaled around. We’ll leave it at the center position.
- Use Relative Positioning For Reference Point
Activating this button allows you to specify a new position of the reference point in relation to its current position. In most cases, you can go with default settings.
- Scaling Percentage
Photoshop maintains the Aspect Ratio by default, but if you want to change the percentage for the width and height, input your values here.
- Amount
This option specifies the ratio of Content-Aware-Scaling to normal Scaling (100% Content-Aware-Scaling and 0% Normal Scaling.)
- Protect
Here you can choose an alpha channel that specifies an area to protect.
- Protect Skin Tones
The little person on the far right is the protect skin tones button, which tells Photoshop to pay attention to skin tones in the image.
- Cancel Transformation
After resizing your image you can of course Cancel the operation.
- Commit Transformation
Or, Commit the operation.


Compatibility
You can use Content-Aware-Scaling on images in RGB, CMYK, Lab and Grayscale color modes. As far as I know, Content-Aware-Scaling doesn’t affect adjustment layers, layer masks, Smart Objects or layer groups. As mentioned above Content-Aware-Scaling is a new feature available in Photoshop CS4 only.
Source:www.tutorialkit.com

